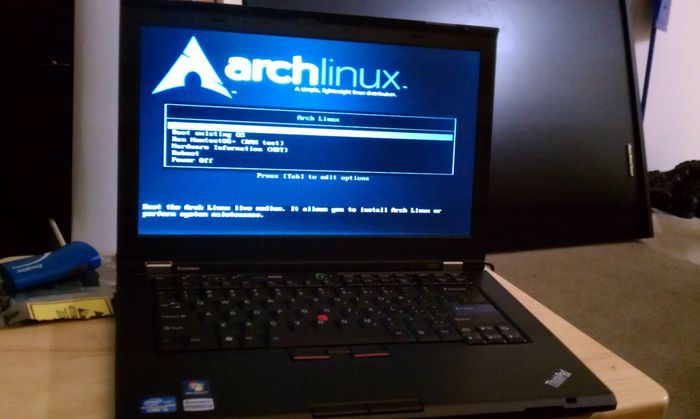
Lenovo T420s with 7mm Crucial M4 Mod
Last week I received a much-anticipated replacement for my old development notebook (Toshiba Satellite Pro L300) for a new Lenovo T420s. It has been a good 4 years or so since I’ve upgraded. My reasons for ditching the Toshiba were:
- Maxed out the memory at 2GB. Operating with > 10 Chrome tabs (as I often do) and working on Rails apps or compiling Haskell code pushed me into a thrashing state constantly.
- Battery life had diminished to a pathetic 10-15 minutes.
- Abysmal hardware support under Linux: screen brightness controls didn’t work, fans kicked in quite late and stayed on seemingly forever. In fact, most Fn keys were just non functional. Volume control also didn’t work.
- While performing fairly well for several years, this wasn’t even a very good laptop when I bought it.
- Aside from the worn out battery, it weighed almost 6 pounds which discouraged me from taking it places.
After much deliberation, I decided to go with the T420s. Some factors influencing my decision: 1. Good reputation for strong build quality and quality design (internal roll cage, excellent keyboard, etc). 2. Reports of great linux support. 3. A price tag competitive with all the shiny, crapware-encumbered, consumer-grade notebooks from the other manufacturers. 4. Very compelling hardware specs. Having a quad core i5 on a development notebook is quite an advantage. 5. The T420s model is surprisingly lightweight and thin.
Unboxing
Please excuse the terrible photos that I took on my cell phone.
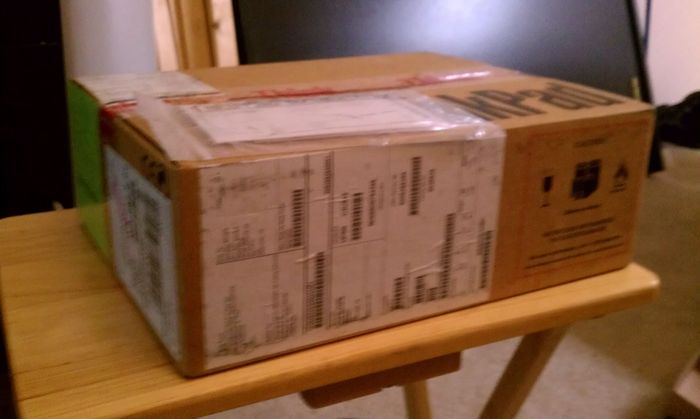
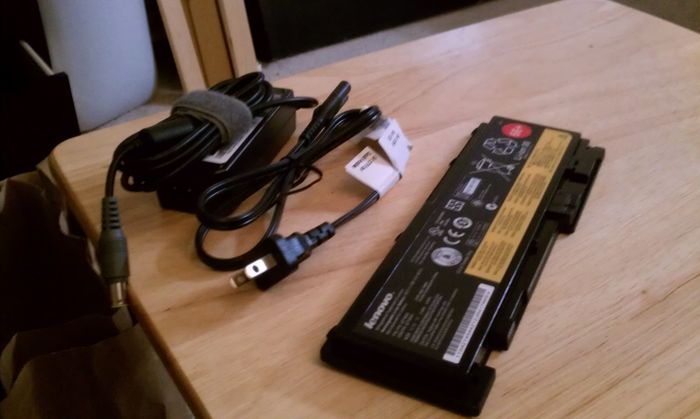

7mm Crucial M4 Mod
One of the dilemmas I came across when researching this laptop is that it uses the “new” (read nonstandard) 7mm height, 2.5" hard drive dimensions. Most SSD hard drives these days seem to be 9.5mm, with the exception of the older Intel X-25Ms, which are hard to come by and overly expensive. Crucial’s C300 was confirmed to be moddable to 7mm in height by removing the top panel and removing the 2.5mm plastic spacer. The problem with the C300 is that it is the previous generation of hard drives. I could not find confirmation that the newer Crucial M4 could be modded in a similar manner.
Operating on innuendo and pictures of the product indicating that there was indeed some sort of spacer, I purchased a 64GB Crucial M4 Model CT064M4SSD2. To perfomr this mod, I also needed some electrical tape (I promise, this isn’t as ghetto-rigged as it sounds), and 4 M2x3mm part number 10124 screws from LaptopScrews.com. I needed these shorter screws so that the panel can be re-affixed to the rest of the drive in the absence of the spacer which necessitated the long screws.
Steps to Mod the M4
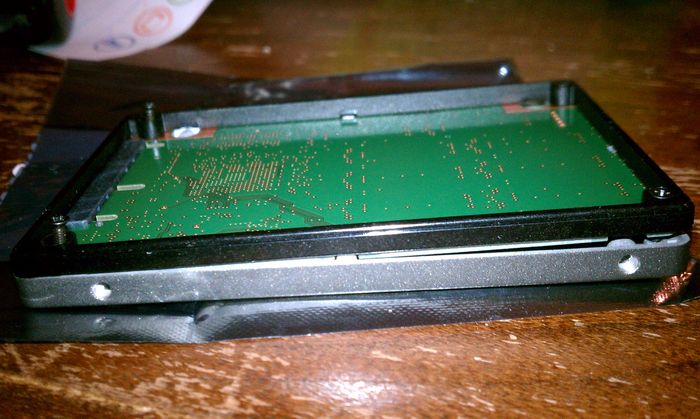
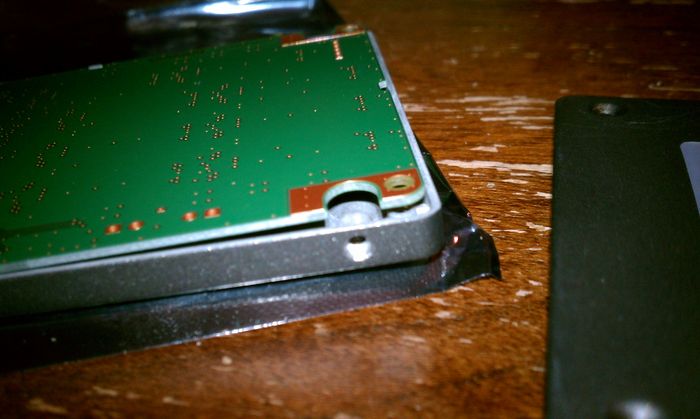
- Remove the top panel carefully by unscrewing the 4 long screws. Don’t lose them in case you have to RMA the drive.
- Remove the spacer and set aside.
- Place tape on the inside of the top panel on all the sides except the one with the SATA/power connectors. I put down about 3 layers on each of the sides.
- Carefully line up the top panel to the screw holes on the drive and use your new screws to screw it in.
- Mount the drive in the hard drive caddy, and then mount that in the laptop.

Notes About the Mod
Unlike the Crucial C300, there was no warranty sticker covering part of the spacer. This means that as long as you’re careful about your screws and remove any incriminating evidence, you should be able to RMA this drive if something goes wrong.
Regarding the electrical tape: on 128GB and higher versions of the drive, there appear to be some flash memory chips on the side of the PCB facing the panel. For these models, you should be able to apply smaller pieces of electrical tape on the chips rather than the panel, since they will stick out from the board. Be sure you’re using electrical tape as it is designed not to conduct electricity. I used the tape as a precaution since the board naturally sticks up on one side and the top panel is so thin, there is very little clearance from the PCB. The last thing I wanted was to short out the hard drive by touching it with the back panel. The PCB is very smooth with no pins sticking out on the panel’s side, so I didn’t have to tape the entire thing down.
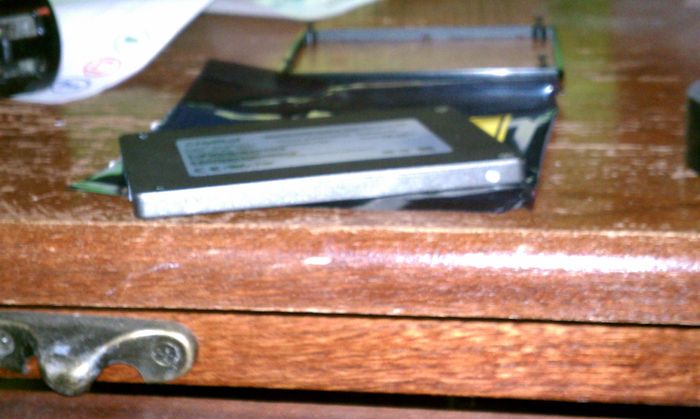
Note that when you close the drive back up, the panel might be very slightly distended near the middle of the drive. This didn’t seem to cause any problems. It may be due to the additional room required for 2/3 layers of electrical tape. It still fit perfectly into the laptop so I wasn’t too concerned about it.
Installing Arch Linux
I don’t really have anything special to say here. Everything worked as normal and all of the Fn keys seem to work well under Arch. The laptop stays quite cool. I am also quite happy to have discovered that Lenovo made the air intake and exhaust on the sides of the chassis instead of putting the intake on the bottom, which seems to be the single most boneheaded and pervasive mistake common to most laptops.
